Liquid Chalk Tutorial

new pics 387

We made liquid sidewalk chalk today and the kiddies loved it. This was so easy to make and dries up just like regular chalk. Instead of drawing on the concrete you use a paintbrush and can cover larger areas quicker.

It only takes three ingredients; Arrowroot, Water and Food dye! So easy

Directions: Mix up equal parts Arrowroot and water

As I have family day care children today, we mixed up a large quantity.

1/2 cup of arrowroot

1/2 cup of cold water

Mix together and add your chosen colour of food dye. Mix well.

We had four colours; Blue, Yellow, Green and Pink.

Now go outside and paint the concrete, bricks and rocks.

new pics 378  new pics 369  new pics 362

This will wash off the concrete with a squirt of the hose and washes off clothes as well.

No-Bake Caramel slice

I promised my brother some caramel slice and decided to share the recipe that I use.

new pics 269

This is a no-bake recipe that I adapted from the good old back of the condensed milk can.

Ingredients:

Base:

250gm pack of plain biscuits

125gms of melted butter

Filling:

1 can of condensed milk

30gms butter

2 Tbsp. of golden syrup

Topping:

150gms of chocolate

Directions:

Process biscuits until they resembles fine breadcrumbs and add melted butter. Press biscuit mixture (firmly) into a slice container, place in fridge.

Melt 30gms butter in saucepan over low heat and add 2 Tbsp. of golden syrup and the entire can of condensed milk. Stir slowly until thickened, 8-10 minutes and don’t forget to lick the condensed milk can clean while you stir!

Layer thickened caramel on the firm biscuit base and pop back in the fridge for about 15mins to set.

Melt chocolate over low heat and put this third layer on the caramel. Smooth all over and let set in fridge for 1-3 hours.

Cut up into slices and EAT. Yummo, oh and share with the brother for payment for his excellent babysitting duties!

Washing Powder

Staying at home with my children while they are young is always something that I wanted to do. I enjoy being at home and treat being a housewife as my job. I garden, make food from scratch and preserve fruits as a way of feeding my family a balanced nutritious diet and also to keep costs down. I home make soaps, washing powder, shampoo and deodorant because I like to limit what chemicals we are using on our bodies.

Over the next week I'm going to show you a few of those things.

 First up Homemade washing powder.

What you need,

4 bars of laundry soap or homemade soap

4 cups Borax

4 cups Washing soda

These items can all be found in the laundry aisle at the supermarket

Cheese grater and measuring cup

So all you need to do is grate up your soap as finely as possible. Jas grates ours so it usually comes out fairly chunky but that's okay.

Measure out 4 cups and tip into a large container that has a lid, tip in the 4 cups of borax and 4 cups of washing soda (I do the borax and washing soda as it has a fine dust that is not great if you breathe it in). Put the lid on and give it a big shake.

All done

The container I use is quite large but the washing powder half fills it. I use an old tablespoon and only put a small scoop in each wash. My machine is a front loader and I haven't had any problems.

If you like to have smelly washing powder then you can use a soap that suits your senses. My soap has orange essential oils in it so ours smells orange fresh.

It's simple to make and this amount will last us about 2 months, I wash twice if not three times a day and all up it cost me about $6.00.

Enjoy

Headband tutorial

This is my first wardrobe refashion, not much but I enjoyed doing it and you can never have too many accessories. So I thought I’d do a mini tutorial for some simple headbands made from old t-shirts.

First up you will need to cut 2 rectangles. One measuring 36cm length by 12cm width and the other 26cm length by 8cm width, and a piece of elastic measuring 15cm.

You can really make it as wide as you like but the length needs to stay the same to fit a child, I made a couple for me and just changed the length of the elastic. You will need to cut  the rectangle out so the stretch is going along the length.

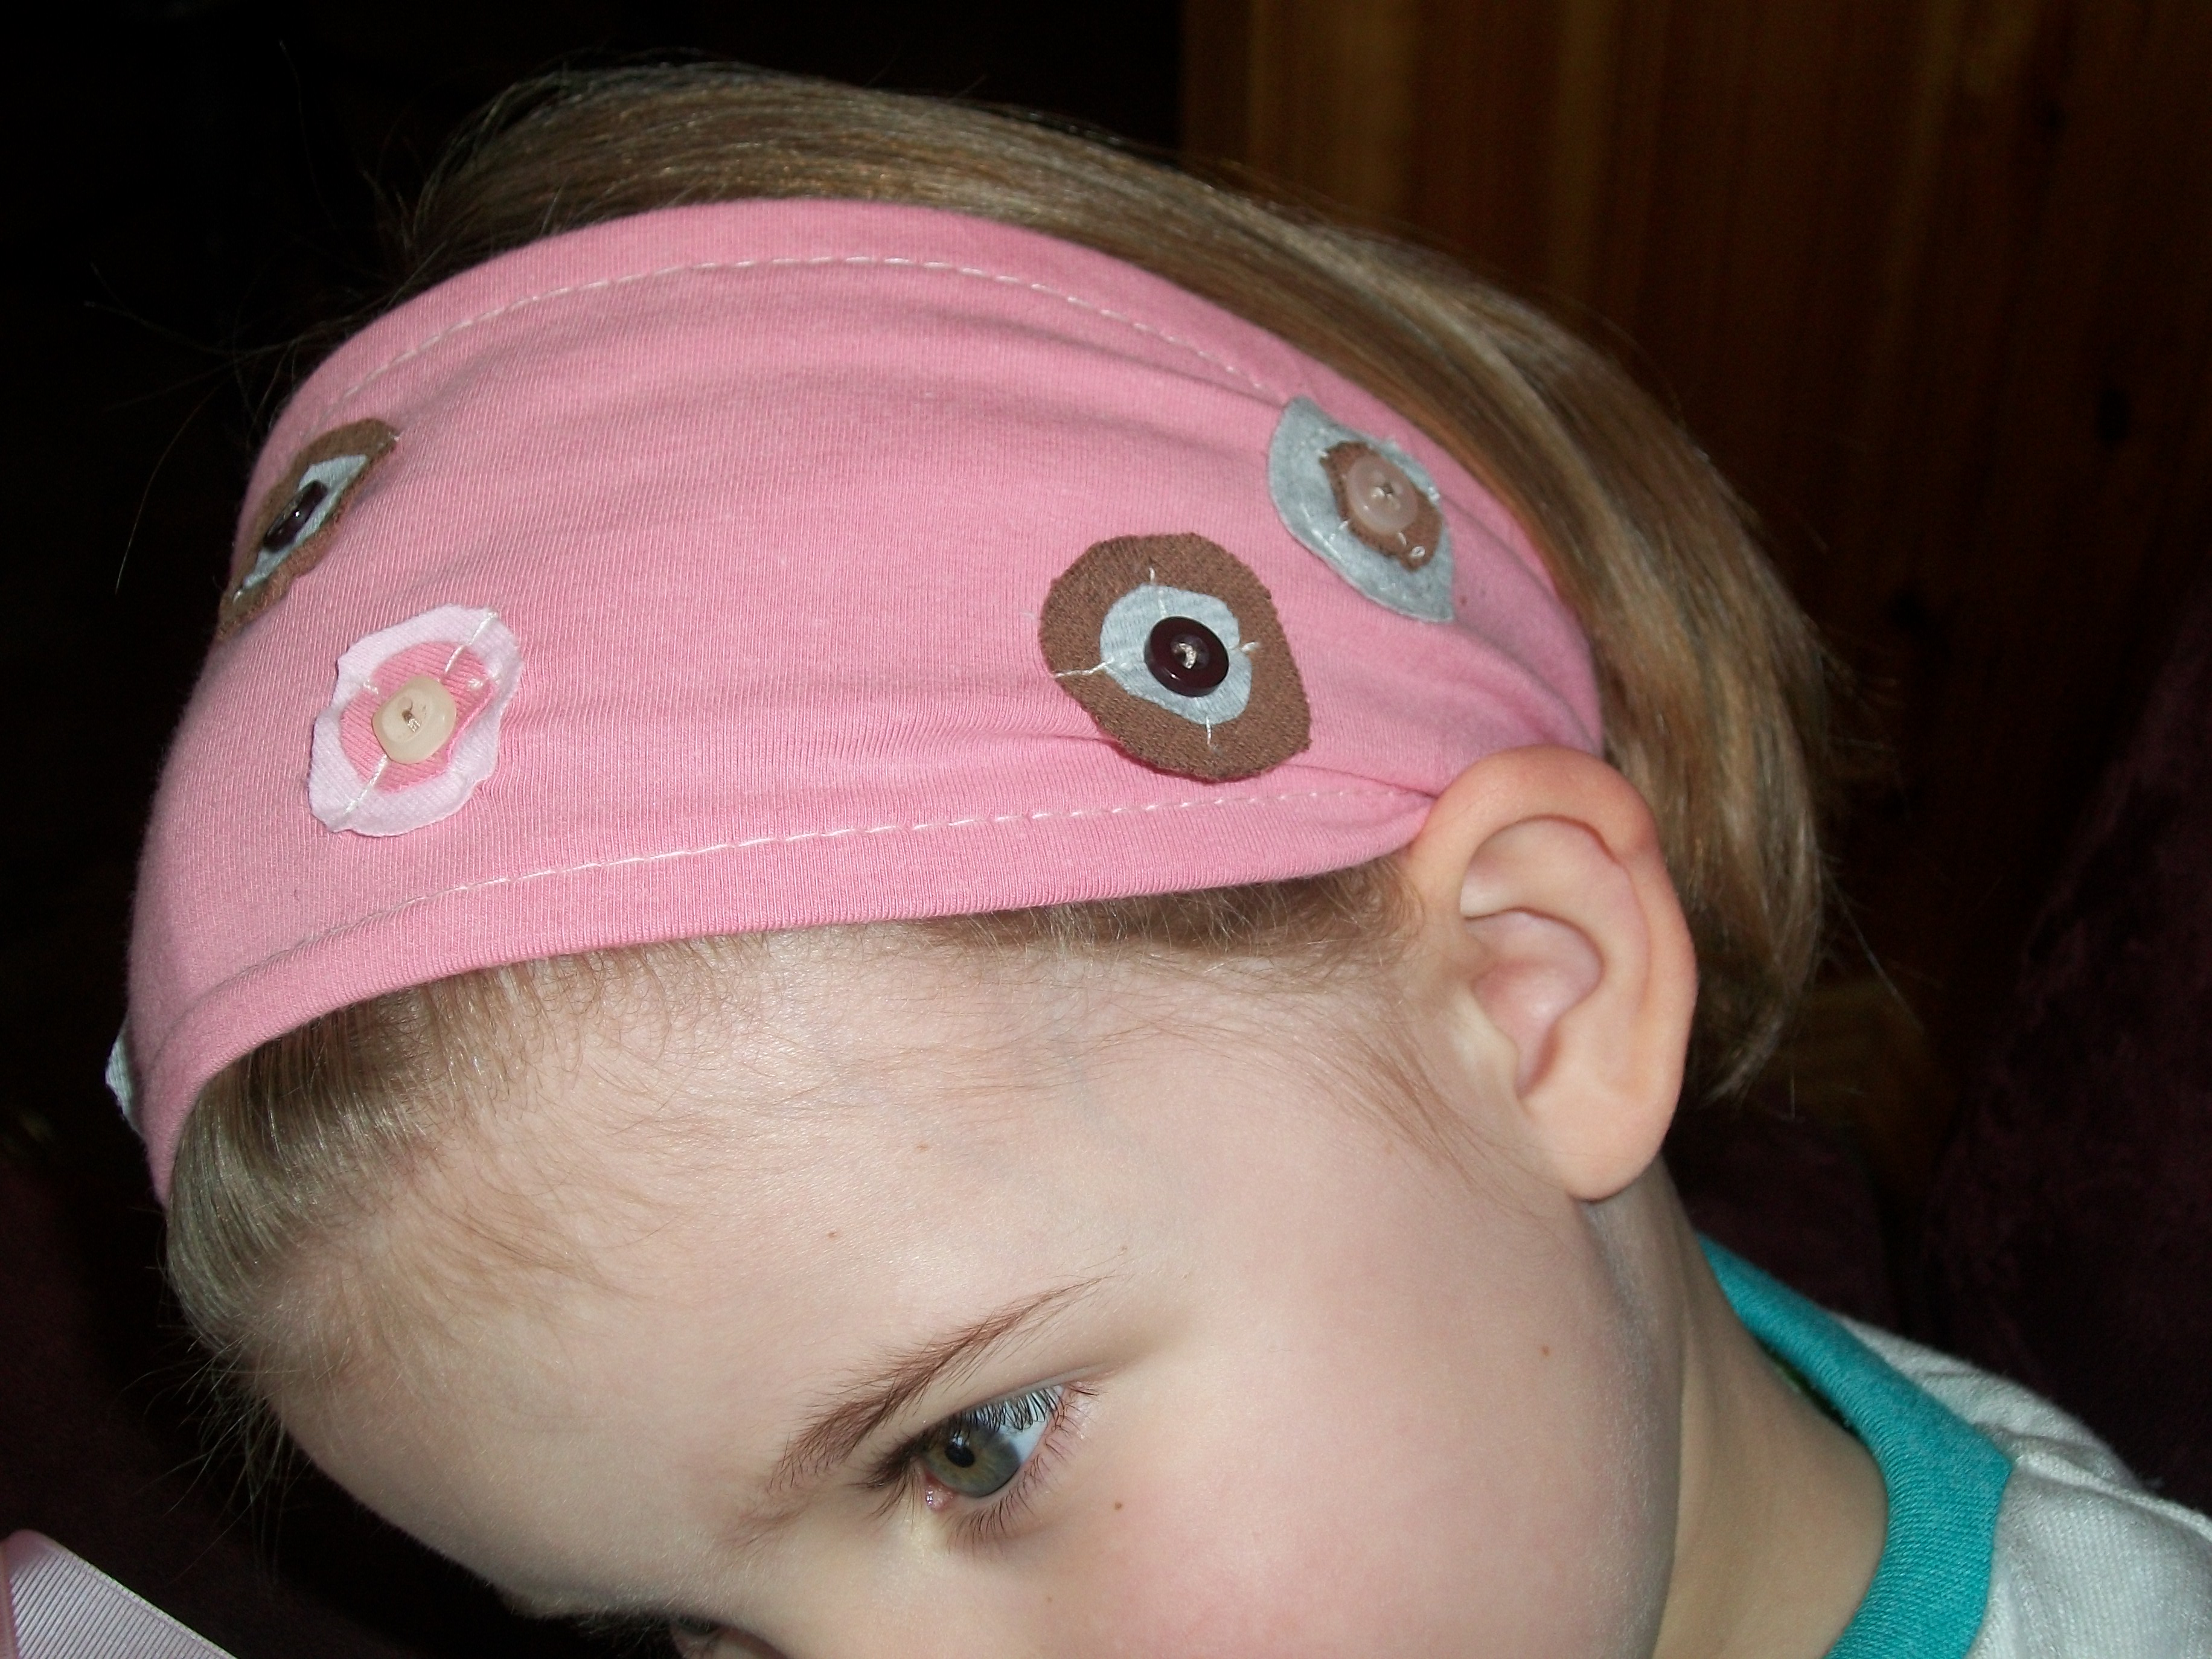
The circles are my decorations for this one.

Okay next up I serged along the edges of the largest rectangle because I like the finished look but this material doesn’t fray so if you don’t have an over locker you can skip that step.

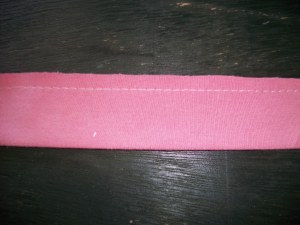
Fold edges over approx. 1cm and press

Play 059

straight stitch edge about 1/2 cm from the edge, all the way along both sides

Play 061

This is when you would decorate your headband before you sew the elastic in.

Next up get your other rectangle and lay it out with the right side of your material facing you. Fold in half and press. Sew along the edge about 1/2 cm allowance all the way along.

Play 063 

Pull it through and press so the seam is along the middle, making a casing for the elastic.    Attach a safety pin to elastic and thread it through your casing, pin one end.

Play 068

Play 069

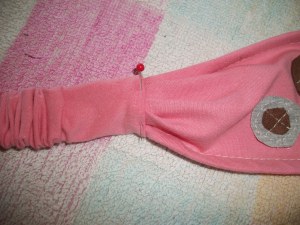
Next up grab your long rectangle and scrunch up one end like so

Play 070 
and poke inside the casing with the elastic and pin. sew along the edge making sure you get the elastic casing and headband. Don’t forget to do a start and stop stitch at each end! I sew along it twice to really reinforce it.

Play 071


Play 073

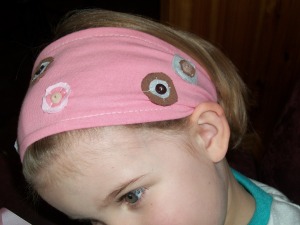
Poke in the other end and sew.  Find a child to model it for you and taadahh the headband is finished

Play 082


Play 096

Play 097 
 
 Its very easy, I’m not so sure about my instructions though so if you have any questions just ask.